·Roofing
New Roof Replacement in New Jersey: A Full Tear-Off Case Study
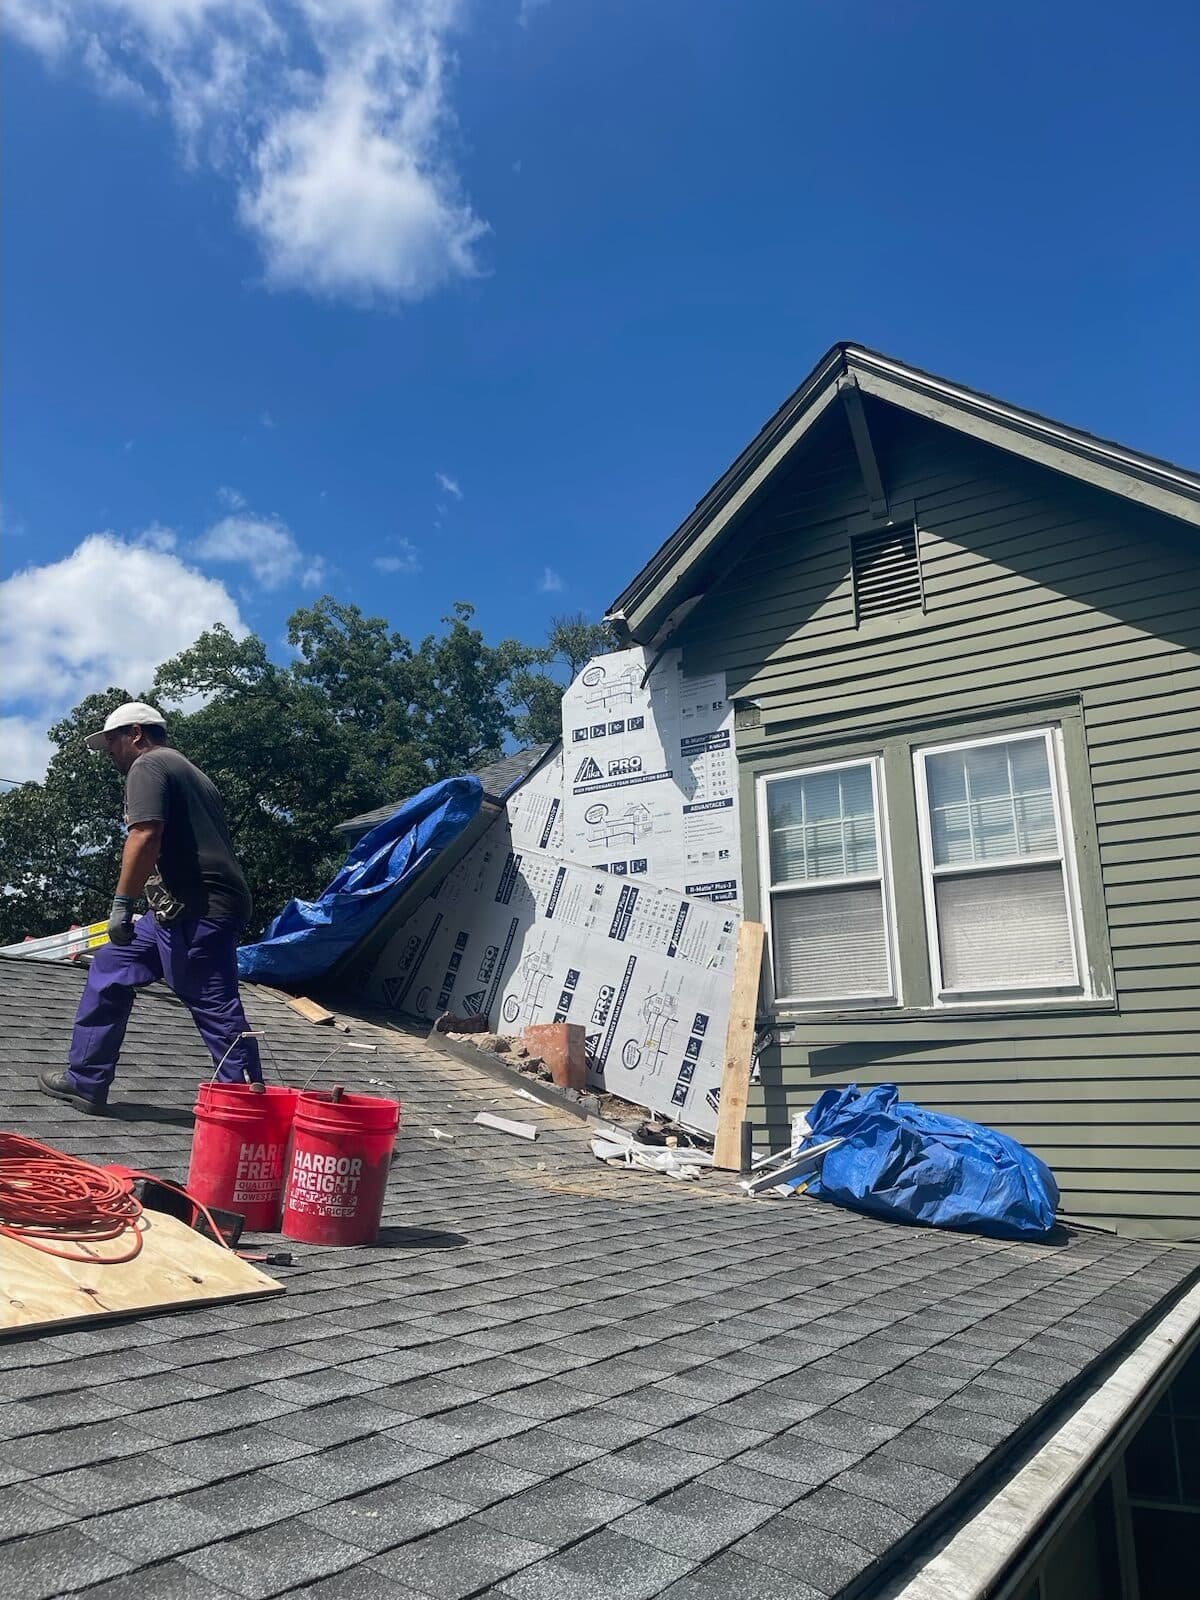
Real before-and-after of a full roof replacement in New Jersey. We walk through every step — diagnosis, tear-off, hidden plywood rot, the complete new-roof system, and the warranty that backs it.
Most homeowners only replace a roof once or twice in their lifetime. When the time comes, it's usually because of a leak, a storm, or a real-estate transaction — situations where stress is high and clear information is hard to find. This article walks through a recent full roof replacement we performed for a New Jersey homeowner, step by step, so you know exactly what a quality tear-off and re-roof looks like from start to finish.
Before we get into the project: every roof we install is a complete system — not just a stack of shingles. The waterproofing comes from how the underlayment, ice-and-water shield, flashing, drip edge, ridge ventilation, and shingles work together. If any one of those layers is wrong, the system fails. Knowing what to expect on a quality install protects you from contractors who skip the steps you can't see after the work is done.
The Diagnosis: Why This Roof Needed Replacement
The homeowner called us about water staining on the upstairs ceiling, near the exterior wall. That's a classic pattern — water entering at the roofline, traveling along a rafter or down the inside of the wall cavity, and showing up on the ceiling far from the actual entry point. By the time it's visible inside, water has usually been entering for months.
Our inspection told the real story. The shingles were curling at the edges, granule loss was significant across the entire south slope (where UV exposure is highest in New Jersey), and several pipe boots had cracked along their rubber seals — letting water in around every plumbing penetration through the roof. The seal strips between shingle courses had also dried out in multiple places. The roof wasn't just aging — it was actively failing.
We pulled the original install records (the homeowner had them from when they bought the house) and confirmed the roof was 24 years old. That's at or past the end-of-life for an asphalt shingle roof in New Jersey's climate. Patching individual issues at this stage would have been throwing good money after bad — the next leak was inevitable, just somewhere else.
Step 1: Full Tear-Off Down to the Deck
Some contractors offer 'layover' — installing new shingles directly over the old layer to save money. We default to full tear-off on every quote because layover hides the most important diagnostic surface on the whole roof: the plywood deck underneath. You can't inspect what you don't see, and you can't fix problems you don't know are there.
On this job we tore off every shingle, the old underlayment, and the old flashing — everything down to the bare deck. We staged a dump trailer on the driveway with plywood protection underneath, set ground tarps around the perimeter to catch debris, and ran the tear-off in coordinated waves so the deck was never exposed to weather for longer than necessary. Tear-off took about a half-day for the crew working efficiently.
What We Found: Hidden Plywood Rot
Once the old shingles were removed, the deck told us where the previous problems had been. Three areas of the plywood near the eaves showed dark staining and were soft when probed — classic signs of long-term moisture from ice damming. Ice dams form when the attic warms snow on the roof above the eaves, water runs down and re-freezes at the cold overhang, and the resulting ice ridge backs water up under the shingles. Over years, the deck below those eaves rots from repeated wetting.
We cut out roughly 32 square feet of rotten CDX plywood and replaced it with new 1/2-inch CDX, fastened to the rafters per code. Where the rot extended to the rafter top edge, we sistered new 2x material alongside the affected rafters for solid bearing. This is the kind of work that's invisible after the shingles go back on — but it's the difference between a roof that lasts its rated life and one that fails early.
We documented every square foot of deck replacement with photographs and shared them with the homeowner before we covered anything back up. If we find this kind of damage on your roof, you'll know about it with photos before we install new materials over it — and the cost will be itemized on a separate change order so you see exactly what you're paying for.
Step 2: The Complete Waterproofing System
Once the deck was sound, we installed a complete waterproofing system in the order code and best practice require:
- Ice-and-water shield (a fully self-adhered modified bitumen membrane) at all eaves, in every valley, and around every penetration. NJ code requires this at the eaves and valleys — it's the layer that stops ice-dam water from backing under the shingles.
- Synthetic underlayment across the rest of the deck. This is a tear-resistant polypropylene sheet that outlasts traditional asphalt-saturated felt by roughly 4× and provides true backup waterproofing if a shingle ever fails.
- New aluminum drip edge along all eaves and rake edges, installed under the underlayment at the rake and over it at the eave so water sheds onto the gutter rather than behind it.
- Step flashing and counter flashing at every wall and chimney intersection, woven into the shingle courses properly instead of caulked on top.
- New pipe boots on every plumbing penetration — full lead-and-rubber assemblies that outlast the rubber-only versions most builders use.
The architectural shingles went on top of that system. We use GAF Timberline HDZ as our default architectural shingle line — class A fire rating, 130-mph wind rating, LayerLock technology in the nailing zone, and a limited-lifetime material warranty when installed per spec. Color choice in this case was Charcoal, which the homeowner selected from a full-size sample we left at the house overnight so they could see it in sun and shade before committing.
Step 3: Ventilation and Chimney Flashing
Two finishing systems matter as much as the shingles themselves. The first is ventilation. This home had soffit vents but no ridge vent — meaning the attic could pull cool air in but had no path to exhaust hot air out. The result over time: an overheated attic that aged the shingles 2–3× faster than they should have aged. We cut in a Cobra ridge vent along the full ridge length, restoring balanced soffit-to-ridge ventilation that meets the 1/300 NJ code rule.
The second is chimney flashing. The previous chimney flashing was caulked on top of the shingles — a common shortcut that fails within 5–7 years as the caulk dries out and pulls away. We tore off the old caulk-and-tar mess, installed new step flashing woven into the shingle courses, and added counter flashing cut into the mortar joints and sealed with high-temp mortar caulk. This is the way chimney flashing should always be done — but rarely is on production-builder construction or budget re-roofs.
Step 4: Cleanup and Warranty
The job wrapped on the second afternoon. Before we left, we ran a magnetic sweep across the entire yard, driveway, and gutters for stray nails — twice. Every project gets a full magnetic-roll cleanup; we'd rather take an extra hour than have a homeowner find a roofing nail with their tire next week.
The homeowner received a written workmanship warranty covering installation defects, plus the GAF limited-lifetime material warranty registered in their name with the manufacturer. The total warranty package — material + labor + extended system protection where eligible — is on every Tri-State roof we install.
What This Cost (and What You Should Expect)
Without naming the exact number on this project (every roof varies by square footage, pitch, complexity, and material selection), this size and scope of full tear-off and re-roof in New Jersey typically falls in the mid-five-figures for an average-sized single-family home with architectural shingles. Layovers run roughly 15–25% less but give up the deck inspection and the waterproofing reset we've described above — almost always the wrong move on a primary residence.
If a contractor quotes you significantly below what other contractors quote, ask specifically what they're cutting: 3-tab shingles instead of architectural? Felt instead of synthetic underlayment? No ice-and-water shield? Skipping the permit? Cheaper pipe boots? Where the price drops, the corners get cut — and the corners that get cut on a roof show up as leaks five to ten years later.
Planning Your Own Roof Replacement
The right time to plan a roof replacement is before the first leak — not after. By the time water is showing up on your ceiling, damage has already happened to your deck, your insulation, and possibly your drywall. Replacing proactively, at year 20–24 of a 25-year roof, costs the same as replacing reactively but with none of the interior damage and emergency-repair pricing pressure.
We provide free, no-obligation written estimates with photos for any homeowner in our New Jersey service area. The estimate includes a written scope of work, material specifications, a fixed total price with all itemized costs (including the permit), and the warranty terms. You'll know exactly what you're paying for and exactly what you're getting before you commit to anything. Call (201) 779-3961 or use our online quote form and we'll be out within a few days.
Last updated
Need Help With This?
We provide free, no-obligation inspections across New Jersey. Honest assessment, photo report, and a written estimate.